Contact LisaLise

Please use the form on the right to contact LisaLise.

Majestic Court 5, St. Mary's Street
Mellieha
Malta

LisaLise offers online education of natural plant-based cosmetics via e-books and courses

LLBlogHEADER2020-3.gif

Shop Blog

A look inside the LisaLise natural cosmetics lab with free formulas, DIY how-to's, ingredients tips, sneak peeks, and more.

Lipstick Grows on Bushes

Lise

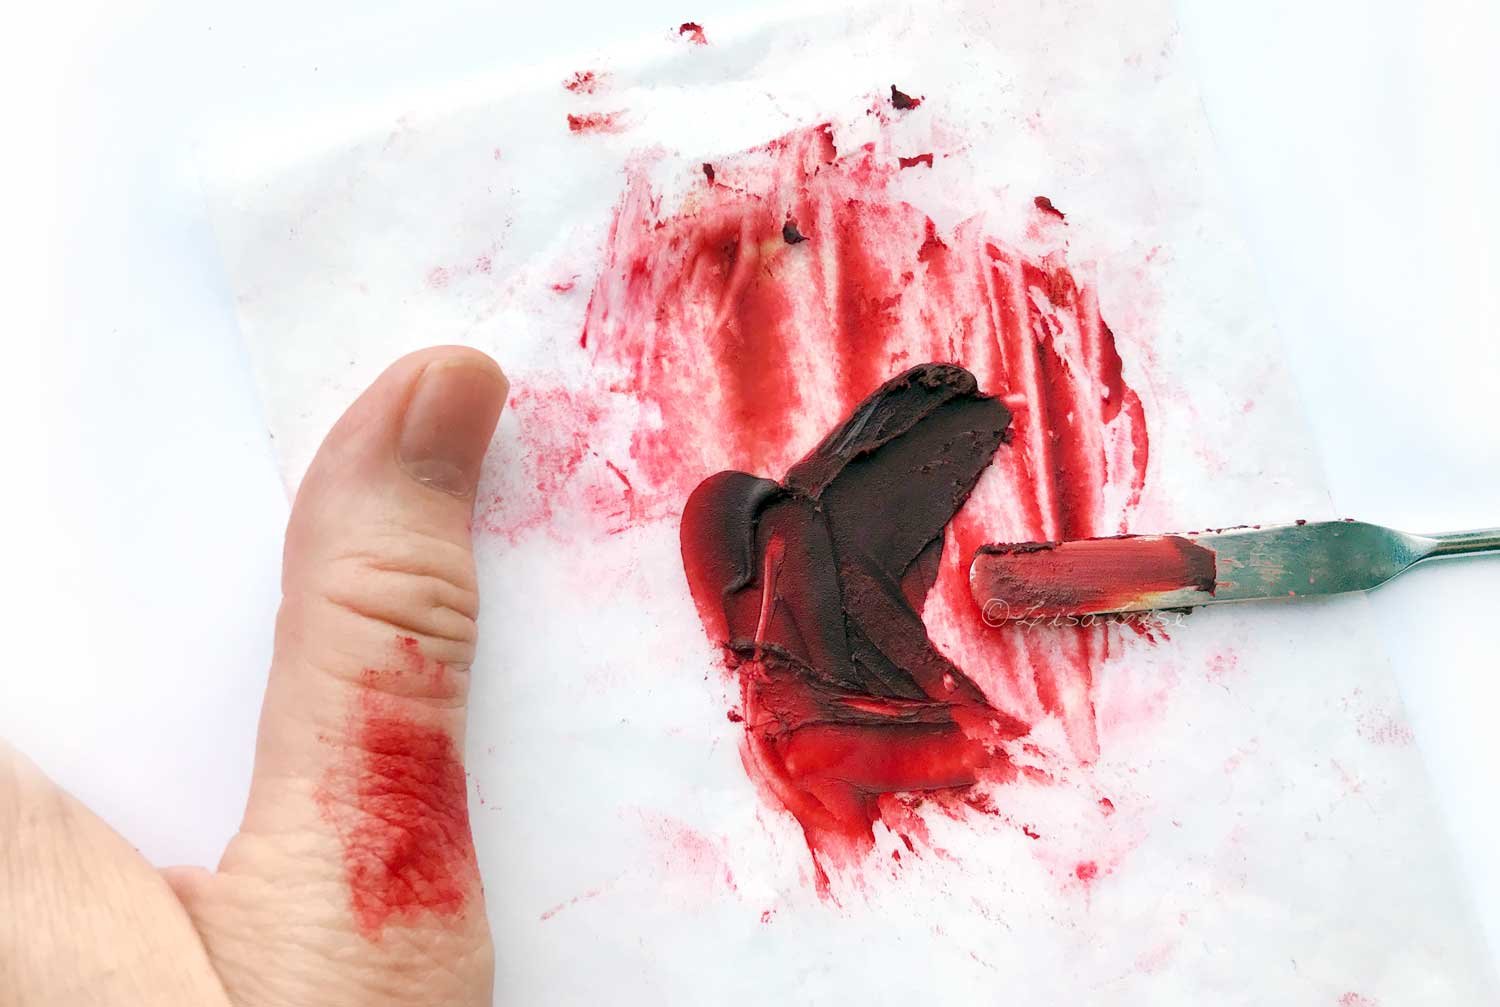
This red mess you are looking at is a bit of success. I suppose we could call it a successful mess. It is 100% plant-based colorants in a 100% botanical base. When I realised it actually had the color, opacity, stability, and staying power I had been trying to acheive, I was absolutely beside myself.

But I'm already a little ahead of myself.

Let's go back a bit.

"This shouldn't take too terribly long" said the Eternal Optimist

Over a decade ago, I put this 'little' project on my personal-to-do list. I thought it might be fun to develop a series of color cosmetics that uses solely plant-based colorants and doubles as skincare.

Admittedly, this sounds like mission impossible, but if you have been following me a while, you probably also know I do like a challenge.

You: Only plant colorants, Lise?

Me: Yup - all natural, all plant-based and only botanical colors.

You: But that's not possible! Plants morph and change color - they turn brown and boring.

Me: I know, and that makes the whole thing a bit of a challenge doesn't it?

The Claim: Cosmetics Will Never Be Natural

It was a meme on Instagram (posted by a formulator of the petrochemical persuasion) that helped kick me into gear and get serious about seeing if this could be done.

The meme was a graphic of a bush (or tree?) that was filled with 'blossoming' lipsticks instead of flowers.

The accompanying text was something along these lines:

"until someone invents a lipstick bush, cosmetics will never be natural."

My immediate thought: 'what an odd choice of graphic and words for someone who has obviously never heard of the Lipstick tree'.

And that was it.

I had to prove lipstick could grow on bushes, so I got to work.

As time has passed, this project has been worked on furiously, placed on the back burner and everything in between because, well, sometimes, things just get in the way.

The Value of Accumulated Fails

There have been scads of fails.

I am not exaggerating. I have over a decades worth of batch notes and research to prove it. And one of the most amazing things I have discovered about having THAT many fails is that it changes every fail from being just another learning experience to an entire education in and of itself. It creates a base from which one can begin to step in the direction of success.

And that’s what I am happy to say happens more and more often.

Plant Based Red Lippie

When this successful mess happened in 2018, it enabled me to hone in on a more targeted path to plant-color success.

I'm still working on this and haven’t cracked every plant-colorant code but from my results so far, I can attest to this: Lipstick grows on bushes.

Tip

If you’re interested in walking this plant-colorant path with me, you might consider joining LisaLise Club where I'm sharing my formulas and methods exclusively with members. Click the picture below to read more and sign up.

Lab Tips: Cleaning Away Fats

Lise

Any anhydrous mixture with a large percentage of butters and/or waxes is inevitably going to leave a layer of product on your equipment that can be a major chore to remove.

Fats and waxes don't just magically melt away with a bit of detergent and water - especially if they have had time to set up and cool. And your water pipes will thank you for not pouring melted fats and waxes into them because they WILL harden into a clogged mass and cause all kinds of plumbing hell that costs a fortune to repair (can you tell I speak from experience?).

So today, I’m going to share a simple and effective way to clean your containers and tools after making a batch of balms, solid lotion bars, or other fat-rich products without causing plumber anxiety.

Work Fast and Work Warm

While containers and tools are still warm, wipe away excess product with a paper towel (or 2).

To work warm, you have to act immediately after pouring. While this is easiest from a cleaning perspective, it’s not always possible, so if your equipment has cooled and the product has stiffened up and set, gently reheat just enough to where you can easily wipe away the fats.

If you have been using a water bath, it’s just a question of placing the container back over the warm water briefly. If your heat source has cooled in the meantime and you happen to have a microwave available, place any (microwave safe) containers in the oven and do a few short bursts of heat to soften and remelt the product so it can be wiped away.

Don’t Skimp on the Paper Towel

With beakers or glass containers, wipe the inside with paper towel to remove as much excess as possible.

Do your best to remove everything (read: change the paper as often as needed). I generally use between 3-5 sheets of paper towel for each beaker.

When your beaker (or glass container) looks like this (slightly frosted), it is relatively easy to clean away any remainder with ordinary detergent and hot water.

Some folks have suggested saving the fatty paper towels to use as fire starters. I think this sounds like a useful idea but am not a fire starting expert, so if you have tried this or have any additional tips, please feel free to share!

Every Last Bit

Finish the cleanup process with a pass of boiling water (or dip into a basin of boiled water) before drying and storing your equipment. This will remove every last bit of residue.

Alternative Cleanup Methods

You can also use a (70% solution) of isopropyl alcohol to break down fats. Simply spray the solution onto/into the container, let sit momentarily and then wipe the fats away. This may need to be repeated a few times depending on how much there is to remove.

A 70% solution means it is a mixture of 70% isopropyl alcohol with 30% distilled water. If you have access to both ingredients, you can easily make your own .

Baking soda is said to be useful for removing fats but as I haven't tried this on my cosmetic making equipment, I am unsure of how best to use it. Perhaps making a paste with it and applying? If you have tried this please feel free to share your experiences.

Do Tell

If you have any tips for cleaning fats off of equipment, please feel free to share in a comment below.

How to Have Fabulous Feet Forever

Lise

A good friend asked me if I had any good foot care tips (which I did and shared with her). After having tried goodness knows how many methods for keeping feet looking and feeling great, I thought I’d share my own tried and true method with you today.

If you are struggling with thick skin build-up on your feet (otherwise known as 'cheese rind heels'), this method should be quite useful to you. Depending on how bad your feet are to begin with, this beauty treatment can cost you as little as the price of a brush to as much as the price of one foot-treatment plus one brush.

Start by Ditching The File

Despite what many may believe, foot files do more damage than good. The instrument functions by grating and tearing the surface of the skin which only makes things worse. Filing your feet only encourages an increased production of hardened skin (I have this on good authority from a couple of foot-treating pros). It doesn’t matter if you are using a fancy schmancy brand named tool, the function is the same: results that unfortunately only exacerbate the problem.

If your heels are really bad, start by getting the built-up, hardened skin removed by a professional. When that's done, you will be able to keep your heels smooth and supple with the following method.

Brush Your Feet Daily

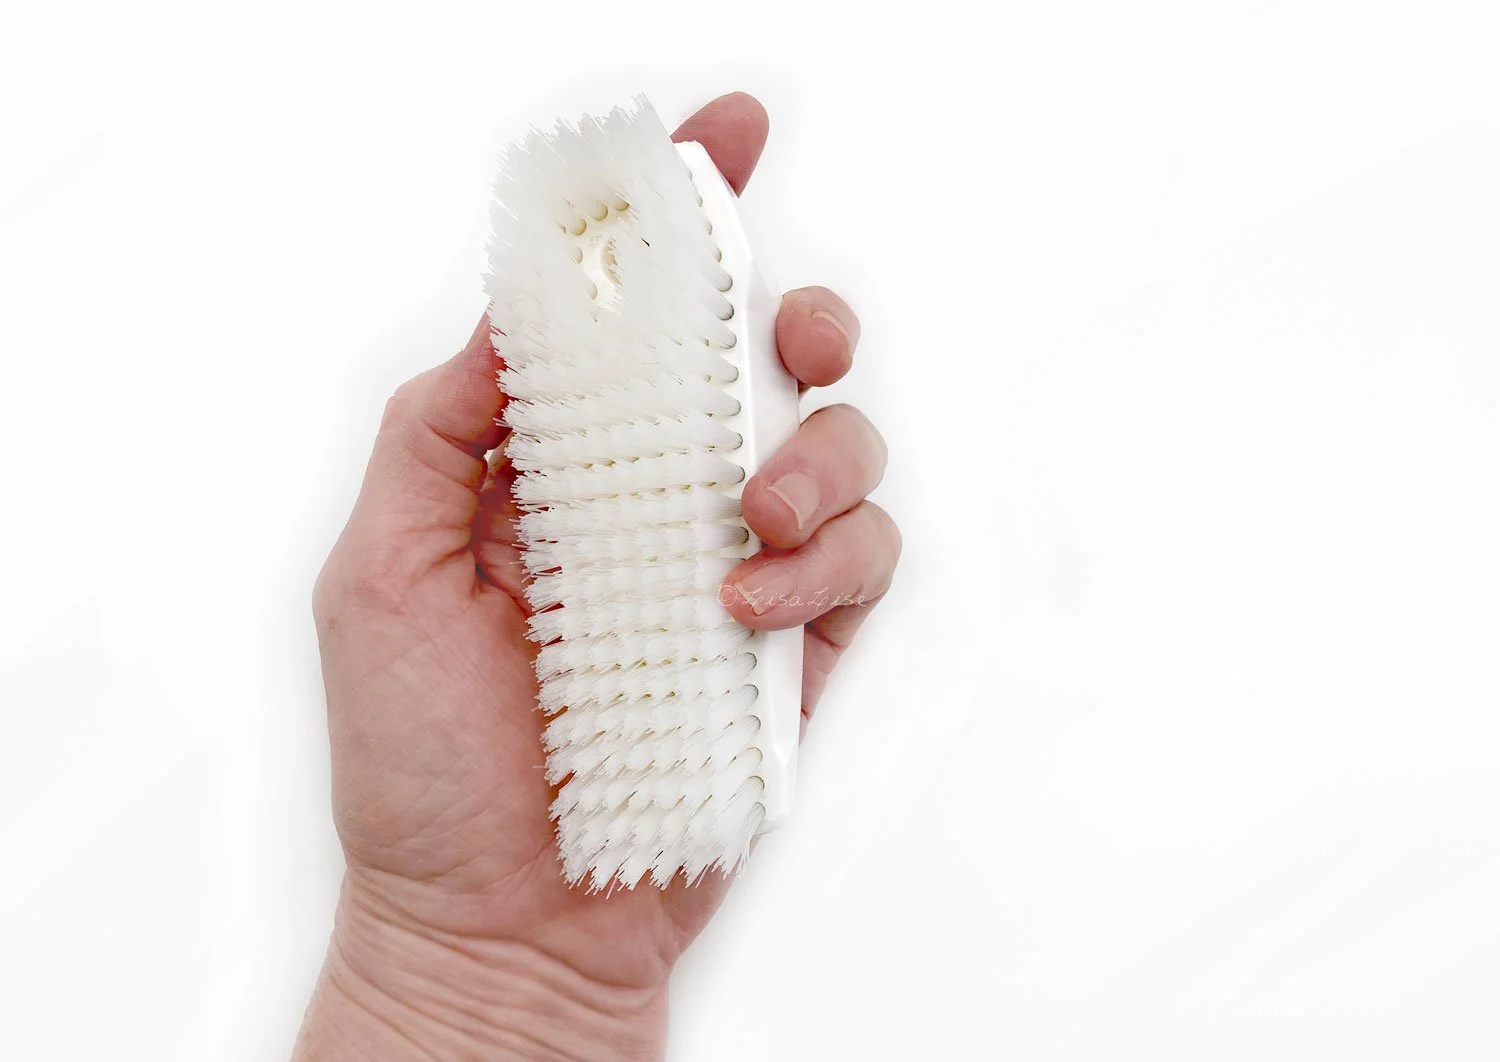
Get a brush that fits well in your hand with stiffish bristles (think nail brush). If you can get an oversized nail brush, that's ideal (see mine below).

After bathing/showering while the skin is still soft, brush your heels (and wherever else the hard skin build-up happens) vigorously for a minute or 2.

The stiff bristles of the brush will remove dead skin and the brushing will encourage circulation in the feet (which also keeps hard skin build-up at bay).

Don't forget the toenails – brushing lightly around the toes will keep the cuticles back and encourage circulation.

TIP: wash the brush regularly to keep it smelling sweet. (If you don't think this is necessary, try not washing your brush for a couple of weeks and then give it a sniff. Even if you don’t have a tendancy to get stinky feet, a brush full of dead skin cells starts to smell pretty awful pretty quickly.)

Then Soften

Finish your foot care routine by applying a body butter, cream or lotion to your feet. Give yourself ample time to apply and massage each foot to work the moisturiser in.

Then put on a pair of socks. Even if you plan on wearing sandals that day, 10-15 minutes with socks will allow time for the moisturiser to sink in.

All That Takes Way too Long!

If we don’t count the sock wearing time, this entire process only takes about 5-6 minutes in total: 2-3 minutes of vigorous brushing, 2-3 minutes of moisturising.

If you can make this little routine a daily habit, your feet will repay you in spades by looking and feeling fabulous – forever.

You’re welcome.

Do Tell

Do you have any foot care tips you swear by? Please share in a comment below

Live Workshop: Botanical Extracts and Skincare

Lise

This is something I’ve never done before. For the first time ever, I am doing a live workshop.

It's happening in May of 2024 in the beautiful Beiras region of Portugal. Pictured above are a few snapshots of the venue where this will all be taking place.

I've teamed up with Vivienne Campbell of the Herbal Hub so we could offer an in-depth look at identifying, picking, processing, and using botanicals for skincare and haircare. In short, we're going to be immersed in hands-on botanical magic from May 10th to May 16th.

What We'll be Doing

Attendees will observe or help with the following processes and extract-making techniques:

  • Collecting herbs

  • Drying herbs (different methods)

  • Herbal Infused vinegars

  • Glycerites

  • Alcohol tinctures

  • Herbal footbaths

  • Hydrosols (in an Air Still)

  • Freshly made cold-pressed oil (nut or seed oil)

Not only will we be making extracts, we'll be incorporating them into the following products which attendees will take home.

  • Botanical Shampoo Bar

  • Self Preserving Facial Cleanser

  • Masks

  • Deodorant

  • and more

Schedule Overview

Here’s a very brief description of the program:

Arrive: Friday 10th May 2024 (join us for dinner together this evening)

Enjoy Learning with Us: Participate in 5 days of classes Sat. 11th – Wed. 15th May

Leave: After breakfast on Thursday 16th May

All Skill Levels

Both Vivienne and I are accustomed to teaching all skill levels and agreed this workshop should span everything from newbies to professionals. So you don't have to be an expert to join, and neither will you find this workshop 'too easy' if you're a practiced formulator.

Only 20 Spots Available

We also decided while planning that we wanted to keep the group an intimate size so it would be a truly immersive experience for every attendee.

Vivienne and I are equally passionate about working with botanicals and look forward to sharing our experience, knowledge, and love of botanicals & their multiple properties with you in May.

Want to Know More?

Click the button below to read more about what's included, check accommodation options, see more of the venue and get an idea of what to expect from this workshop and to sign up.

Don't wait too long as spots are going fast.

I hope you'll be joining us!

We look forward to seeing you

Click the button to learn more about the workshop

Do Tell

Have you ever been to a botanical skincare workshop? Please share your experience in a comment below.

How to Work With Stinky Ingredients

Lise

Working with plant-based ingredients has its occasional challenges. Some of the ingredients I work with have an inherently heavy, sharp, pungent, musky, or otherwise less than appealing scent.

Ok, that was the diplomatic description.

Some of them are so stinky there is instant nose-wrinkling and the instinctive pull-back when the seal is broken and the package is opened.

Yes, that stinky.

At the same time, some of them have all kinds of skin-loving goodness to offer, so they cannot be disregarded.

Choices must be made.

The Stinky Conundrum

So, how shall we solve this stinkiness? Shall we mask the odor?

Perhaps just replace the ingredient?

There's also 'the industry maneuver' (my term) which consists of using such a small amount of the ingredient that it won't be discernible to the nose. This is common practice in many commercially manufactured cosmetics and is also referred to as a 'tip-in'.

Using an ingredient as a tip-in is great for marketing purposes, but the downside is – of course – having to live with the fact that the ingredient won't do a dang thing because there's such a teensy tiny amount in the product (0.05%) that it might just as well not be there at all.

So, maybe we should give up and dump the stinky ingredients entirely?

Or.

Maybe we could figure out how to incorporate the smelly things in such a manner that the end product doesn’t insult the nose.

Maybe we can even make the end product a delight to the nose?

Considering the Synthetic Factor

In truth, it's relatively easy to mask even the stinkiest ingredients by using a synthetic scent. Think of detergent. Without the addition of (a synthetic) perfume, most household cleaning agents are, to put it politely, downright foul smelling.

Grabbing a bottle of fragrance would be the most obvious and easiest choice, but I have a problem with that as I am not a fan of synthetic perfumes.

Ok that was the diplomatic description.

In truth, I find (almost all) synthetic fragrances worse than the stinkiest ingredients I work with. Despite several attempts, I cannot bring myself to work with them. This might be due to a perfume allergy (I've never been tested, so I can't say for sure), but it could be because of my lifelong inherent aversion to anything synthetic.

What’s the Stinkiest?

A while back, I asked a few fellow formulators if there were any particular ingredients they would categorise as stinky and hard to work with.

There was a literal flood of replies.

Here are the stinky winners

  • Neem oil (the all time winner and receiver of most votes)

  • Cocoa butter

  • Unrefined shea butter

  • Lanolin

  • Wheat germ oil

  • Argan oil

  • Carrot seed oil

  • Tamanu oil

  • Pomegranate Seed Oil

  • Evening Primrose Oil

  • Raspberry Seed Oil

  • Kelp Powder

  • Spirulina

  • Tea Tree Essential oil

  • Valerian Essential Oil

  • Soapnuts

These ingredients all have wonderful properties that are difficult to simply disregard. So, how do we deal with all this stinkiness?

We Take Stinkiness into Account

After years of trial-and-error, it has become second nature to me to take the inherent stinkiness of some ingredients into account when creating a formula.

Even though there are some limitations, it is possible to 'bend' a stinky ingredient (or 2) into something entirely pleasant with no need of masking the smell.

The secret is deceptively simple: work with, not against.

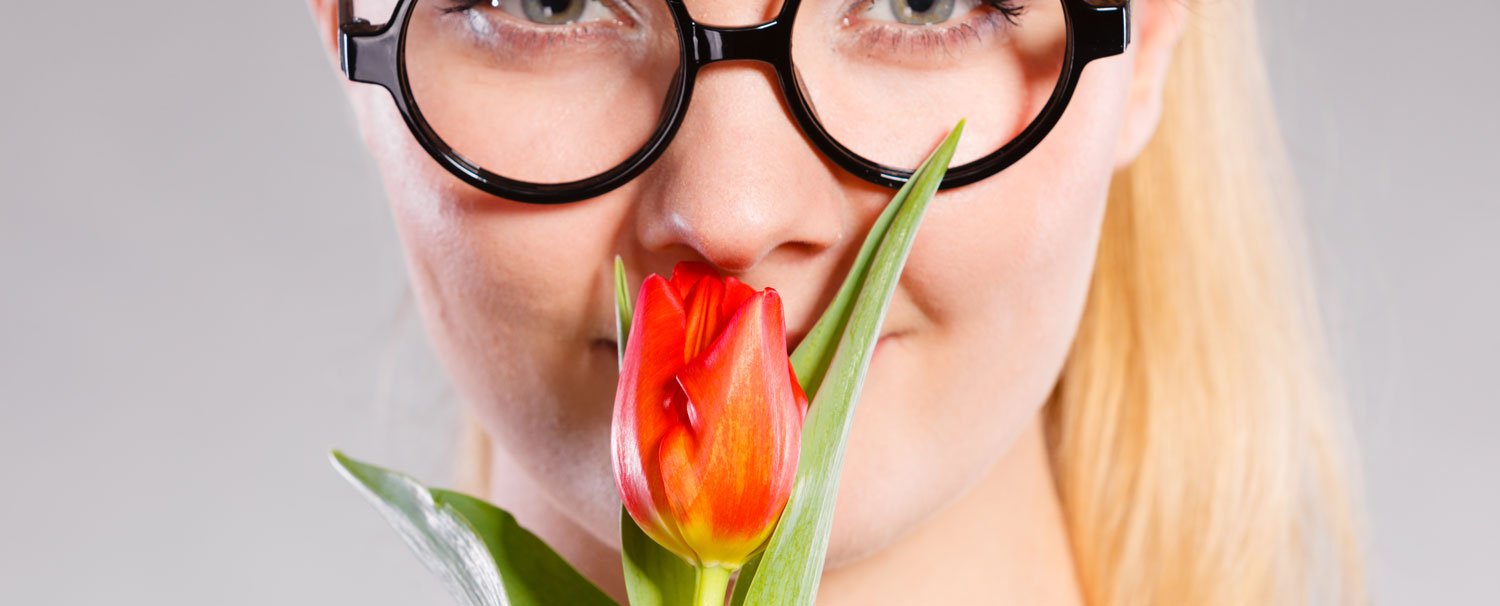
Get your perfuming nose on and get ready to include said stinky ingredient as part of the fragrance.

You doubt?

It's perfectly ok. I didn't think it was possible in the beginning either.

To get busy, we need to do a bit of nose exercise (and no, you don't need to learn how to wiggle your nose).

How To Get Your Perfuming Nose On

This is a relatively simple exercise, but does require your full attention and concentration.

Your nose may be a little offended at first, but will probably surprise you with hidden secrets sooner than you expect.

The object of this exercise is to train your nose to pick out the components of (any) fragrance.

Choose an ingredient. Don't start with the absolute stinkiest ingredient, but choose one you perhaps find a bit challenging. For example, if you have an ambivalent relationship with the scent of unrefined shea butter, start there.

Sniff the ingredient until your nose is thoroughly acquainted with it.

Alternate between sniffing the ingredient and sniffing fresh air.

Continue for a few minutes and you will start to discover the 'undertones' and 'overtones' of the scent. Is there a muskiness in the background? Is it slightly woodsy? Nutty? Fruity?

Identify the components as best you can and write down your impressions.

At one point, your nose is going to ‘sign off’ and that will be your signal that this session has ended.

Wait at least an hour before continuing.

It will probably take a few sessions, but I’m pretty sure it won't be long until you have dissected the scent and can begin to work with it. If there is a musky undertone you find unappealing, the addition of a woodsy fragrance can synergise and 'bend' the scent in an entirely different (and more pleasing) direction.

I admit this takes a bit of practice, but I also know you can totally do this. I think you will surprise yourself at how quickly your nose is able to 'dissect' what you are sniffing. Keep at it and you will discover how easy it suddenly is to dissect the components of a wine, perfume, or any dish.

Let’s Take Cocoa Butter

When you've been exercising your nose and making all kinds of amazing discoveries at how clever your nostrils are at picking out subtle details and undertones, you can move on to this exercise.

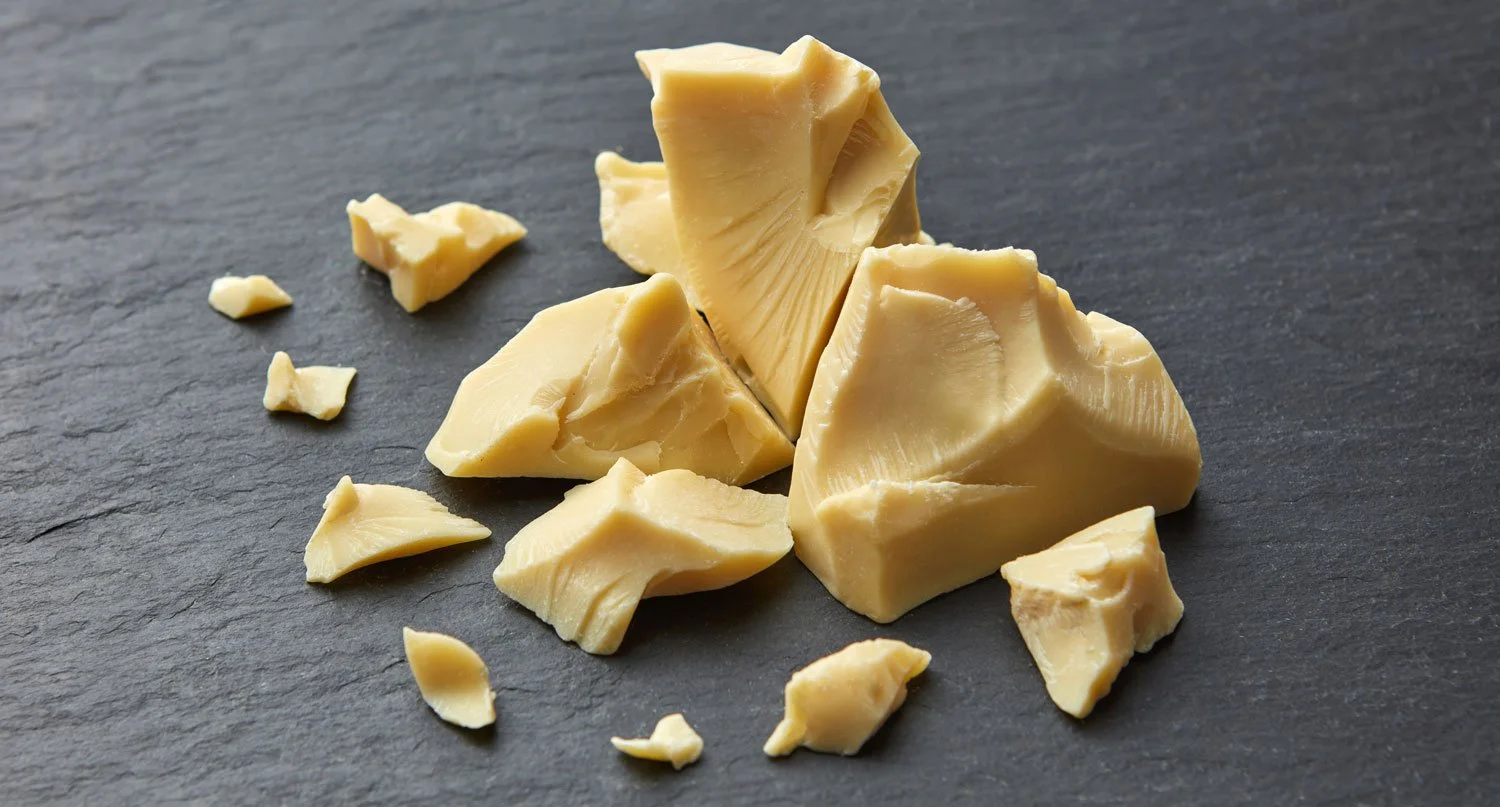
We're going to 'bend' the scent of an ingredient that made it quite high up on the list of stinky ingredients in my impromptu poll: cocoa butter.

It almost seems unfair to call it a stinky ingredient. Most people love the smell and taste of a chocolate bar. I know I do. I actually also love the scent of cocoa butter if I am thinking of dessert. But right now, we're putting it on our skin. And not everyone wants to smell like dessert all day.

As delicious and chocolatey as unrefined cocoa butter might smell in the container, it can be downright overpowering when it is applied to the skin in a leave-on product.

In a body butter, non-chocolate-tasting lip balm, or any other water-free product, cocoa butter can have an uncanny ability to take over the entire fragrance profile and become both heavy and cloying.

How to include cocoa butter as a component of our fragrance? Here's a little exercise on how to do just that.

Cocoa Butter Base Note Exercise

For this exercise, you’ll need

  • Unrefined cocoa butter

  • Essential oils

  • Any infused oils you might want to include

Method

  1. Have your essential oils at room temperature

  2. Gently melt 5 grams (a teaspoon) of cocoa butter in a small glass container (5 grams for each scent you want to create).

  3. Sniff the cocoa butter. Note the properties: heavy, creamy, and chocolate-like. This is the base note from which you shall create your fragrance.

  4. The next step is to decide which direction you want to take this base. Here are a couple of examples to help inspire.

Woodsy : For a woodsy scent, add a component such as cedarwood, rosewood, petitgrain, or sandalwood. A combination could also be used. Round out the blend by introducing an element of citrus freshness – bergamot, mandarin, blood orange, grapefruit, or lemon could all be considered.

Oriental : To bend your cocoa butter in a more exotic direction, add myhrr or frankincense. Introduce a floral element with rose or geranium, then consider a titch of vanilla to round out the scent and make it deliciously exotic.

Floral : For a floral scent, start with a woodsy component to anchor the cocoa butter (cedarwood might be great here). Then add some rich, dense florals such as geranium or rose. Lighter florals risk being 'buried' in the fragrance profile. Chamomile – with its inherent earthy note – is another possible option. Lavender and/or an element of citrus can be added to round out the scent.

Want to try something else? Go for it! When your nose is 'tuned in', you can create any fragrance combination you think you would like.

Chill, Solidify, and Do a Nose Test

When you have finished your test bowls with essential oils and cocoa butter, pop them into the fridge and let the mixture solidify.

To test the solidified samples, warm the bowl (or solidified cocoa butter) slightly in the palms of the hand and then do a nose test to see if you are satisfied with scent profile. If you are, then you know the EO’s you blended into the sample will in all likelihood be useful for anything you make with cocoa butter

TIP : If you happen to make your own botanically infused oils, these can also be super useful in a fragrance creating setting.

Do Tell

Which scent combos have you tried adding to cocoa butter to create your fragrance? Were you happy with the results? Please share in a comment below.

Rosehips For Skincare

Lise

Here's an ingredient that has been a staple in my stockroom for years.

Rich in vitamins, these brightly-colored fruits are not only super healthy to eat (and make a delicious jam), but also have loads to offer with topical use.

Where They Grow

Rose-hips are native to Europe and parts of Asia. In Scandinavia, they grow wild along beaches, forests, and fields, dotting the landscape with their brightly colored flowers in summer and even more brightly colored hips throughout the Fall and Winter months.

The fruits are able to withstand the harsh Nordic elements and will not only remain on the branches long after the leaves have fallen, they will also retain their vitamin content and most of their beneficial properties.

Species

There are 2 equally popular (and useful) species of rose-hips - each with numerous synonyms:

Rosa rubiginosa is also known as Sweetbriar, Briar Rose, Rosa Mosqueta, or Apple Rose

Rosa canina is also known as Dog Rose or Dogwood Rose.

Both contain similar amounts of vitamins but rosa canina has a slightly higher fatty acid content.

Oils From the Seeds

Apart from 2 species (and therefore 2 seed oils), there are also 2 kinds of rose-hips oil used for skincare. They differ somewhat in their properties which can create some confusion.

The golden-orange seed oil is produced by pressing the seeds from inside the hips. Both Rosa rubiginosa and Rosa canina are used to produce seed oils. The Rosa rubignosa oil is especially favoured for its content of trans-retinoid acid (a natural vitamin A derivative).

It is not an inexpensive oil.

The cold-pressed (Rosa rubiginosa) seed oil has been a favourite of mine for years and has found its way into numerous products: from face oil blends to emulsions (added at the cool down phase as this is a heat sensitive oil).

With about 40-45% linoleic acid (omega-6) and a healthy portion (about 10-15%) of oleic acid (omega 3), it also contains natural content of vitamin E as well as squalene.

Rose-hips oil is categorized as a dry oil, melting into the skin quickly with no greasy feel. The scent is quite unobtrusive and works well in any facial oil blend - my personal favourite use of it.

The only real downside is the oxidation potential: it has a pretty short shelf life. This can be optimized (but not extended) if the oil is handled properly (not added to heated phase of emulsions) and stored cool and dark.

You will find rose-hips oil widely available from health food stores to cosmetic ingredient suppliers and I have used both food grade as well as cosmetic grade in my formulations.

Below: rose-hips seed oil from a cosmetic ingredient supplier.

The Oil That is Not from the Seeds

The other kind of rose-hips oil is an infused oil. Many folks looking to find a less pricey solution to the seed oil have taken to making their own infused rose-hips oil by placing the dried fruits into a carrier oil to infuse for a period of time and then straining out the fruits.

While this makes a lovely oil that can be used for cosmetics, an infused oil does not contain the same properties as oil pressed from the seeds. Check Vivienne Campbell of the Herbal Hub’s 5 minute film explaining the main difference between these oils right here

Powdered Rose Hips

Apart from oils, there is also rose-hips in powdered form. This ingredient has made its way into several of my fave go-to products: cleansing powders, masks, and exfoliating scrubs. The scent of the powder is subtle and faintly fruity which I find quite pleasant.

In my experience, powdered rose-hips has a slight graininess to it, making it ideal for gentle exfoliation. I have yet to source this powder where I am living now in Portugal, so I am looking forward to seeing if I have the same 'graininess' experience when I find a new supplier.

If you're wondering how it is even possible to make a powdered version of rose-hips while retaining the C vitamin content, you are not entirely off track. The production process destroys a lot of the vitamin in the fruits which makes it impossible to label the powder accurately for vitamin content.

When I bought rose-hips powder in Denmark, the packet would always have a detailed explanation of why they were unable to state even an estimated amount of vitamin C content and comply with labelling laws at the same time. In short, the vitamin C content of the powder appears to be anybody’s guess.

Happily, I use the because I like the gentle exfoliating graininess (and any vitamin C it may contain is just an added bonus)

Do Tell

Do you use rose hips in your skincare? Please share how and in which products in a comment below.

More About Rose-hips

PubMed: Study Indicating rose-hips helps reduce pain LINK

Another PubMed study on rose-hips powder for pain management LINK

Bioactive ingredients of rosa canina LINK

Chemical components of rosa rubiginosa (Chrome extension pdf document) LINK

Therapeutic aspects of rose-hips from different rosa species LINK

Rosa rubiginosa (Plants for a Future) LINK

Rosa Canina (Plants for a Future) LINK