Contact LisaLise

Please use the form on the right to contact LisaLise.

Majestic Court 5, St. Mary's Street
Mellieha
Malta

LisaLise offers online education of natural plant-based cosmetics via e-books and courses

LLBlogHEADER2020-3.gif

Shop Blog

A look inside the LisaLise natural cosmetics lab with free formulas, DIY how-to's, ingredients tips, sneak peeks, and more.

Slow Beauty Cleansing Milk

Lise

Pictured: A batch of my Slow Beauty Cleansing Milk featuring Rose and Soapnut. I did a series of these cleansers a few years back to test out a few different ingredient combos as well as to test the limits and capabilities of this particular emulsifier. The rose and soapnut combination performed beautifully repeatedly.

The best part? It's relatively easy to make.

This formula utilises a COSMOS certified and organic emulsifier (and oil thickening agent) that can be used either hot or cold (which is kind of cool if you ask me).

Today I'm going to show you how I made this cold process emulsion.

Spoiler alert: there's a reason the title includes 'Slow Beauty'.

COSMOS Emulsifier

After fooling around with Sucragel a while and discovering its quirks, I think the positives outweigh the negatives - especially in a DIY or small batch setting. It seems the jury is still out on whether or not Sucragel does well for larger batch sizes and I'm assuming this is because of the mentioned quirks, but we'll get into those in a minute.

What's in an Emulsifier

Sucragel is pretty widely available. I tried using it from a couple of suppliers as it is always a good idea to try ingredients from different suppliers. There can be differences in how an ingredient performs - even if it has the same INCI.

The INCI of the Sucragel I am using here is as follows: Glycerin, Prunus Amygdalus Dulcis oil, Sucrose laurate, Citrus Aurantium Dulcis fruit water

Because this is a glycerine based ingredient, adding more glycerine to your formula could be a bit overkill, so if you are thinking of adding your own glycerites to an emulsion where you are using Sucragel, you'll probably want to keep it at a lower percentage.

Depending on the texture you are aiming for, you can dose sucragel from 6 - 20% of your formula. This emulsion has a creamy, non-greasy feel and a viscosity that is my idea of cleansing milk perfection.

Because I had some bottles that held about 150 ml, my batch size here is calculated for 150 gr.

Shall we get busy?

LisaLise's Slow Beauty Cleansing Milk with Rose & Soapnut

Phase Ingredient Grams
A Demineralised Water 63.0
A Xanthan Gum 0.8
A Soapnut (dry extract) 3.0
A Rosewater 23.8
A Broad Spectrum Preservative of choice 0.9
B Rose Infused Castor Oil 42.0
B Sucragel 16.5

Method

  1. Combine phase A ingredients and allow to sit for 15 minutes.

  2. Combine phase B by slowly adding the oil to the sucragel bit by bit and stirring until homogenous with each addition. When combined, let stand for 15 minutes.

  3. Stir phase B again.

  4. Add phase A to Phase B little by little, stirring well in between additions.

  5. Adjust pH if necessary

  6. Transfer to container

Sucragel Quirks

Fair warning: it can seem arduous transforming Sucragel and oil into a homogenous whole. My supplier recommends adding the oil to the sucragel ‘drop by drop’ and stirring until thoroughly incorporated in between additions.

Admittedly, this process takes a bit of patience but the good news is, it can be done by hand and without the use of electrical mixers with excellent results.

I’ve tried using different stirring implements (both 'electrified' and 'non electrified'), adding the oil to the sucragel faster (or in larger amounts at a time), stirring less, and just about every combo I could think of to speed the process up.

My experience to date is: the slower you go, the better and more stable a result you get. Read: if you even try to rush it, you really risk an unstable emulsion. Also my experience: using a wide, flexible spatula to work the ingredients together gives the best results.

And now you know why I call this is a 'slow beauty' formula. So if you don't have time to 'get your zen on', do wait for a day when you're ready to give slow-making a go.

pH Notes

The ingredient variations I made to my own batches all resulted in pH levels ranging between 4.7 - 5.5, so no pH adjustment has been necessary.

Ingredients Notes

Soapnut Extract

Soapnut dry extract is not the same as powdered soapnut and will give you quite different results if you try replacing a dry extract with a powder. Stay tuned for a post explaining (and showing) the differences)

If you can't access dry soapnut extract but have soapnuts, you could try doing a decoction and replacing half of the water amount in this formula with your decoction.

Infused Castor Oil

This is quite in line with the slow-going-ness of this formula. I made my own rose-infused castor oil by adding dried rose petals to castor oil and allowing the mixture to cold infuse for a couple of months before straining and using the oil. Depending on the quality and freshness of the dried roses you use, this will add a lovely note of rose to your product.

You could replace the rose with any herb you prefer (lavender and rosemary come to mind as possibilities).

If you don't want to make an oil infusion, just use castor oil.

Rosewater

I made most of my batches with hydrosol, but to be a bit experimental, tried one batch with food grade rosewater (the kind you will find at specialty supermarkets). It worked beautifully and definitely won't be the last time I use rosewater of this type in a cleanser.

Preservative

I used benzyl alcohol in my experimental batches and it performed quite well. Estimated average shelf life: 8 - 12 months.

Do Tell

Have you worked with Sucragel before? What were your experiences? And if you have used Sucragel to make larger batches and are willing to share your thoughts, please feel free to drop a comment below!

What I Learned After a Year Doing Laundry with Soapnuts

Lise

Over a decade ago, the funny-looking little 'nuts' you see pictured above made their way into my life. They are all natural cleansers that grow on trees. I'm not kidding. Soapnuts (also called soap berries or wash nuts) have a natural content of saponins.

They have numerous cleansing uses for skincare and haircare but it was learning about its history of use for textiles that got me excited. Here was an all-natural, efficient and planet-friendly solution to commercial detergents!

It took me all of a nanosecond to abandon ALL of my regular laundry products and replace them with this little bag of drupes.

For a full year, all of my laundry was done exclusively with soapnuts.

When I say everything, I mean

  • Dishrags

  • Towels

  • Sheets

  • Whites

  • Undies

  • Silks

  • Sportswear

  • Wools

  • Teddy Bears

  • Tablecloths

  • and everything else that made its way into the washing machine

'Methinks this woman is mad'. (I clearly heard you think that)

Perhaps.

But I learned a whole heck of a lot of things about using soapnuts for laundry. And because you may just find my observations and experiences useful, I'm going to share them with you.

How to Use Soapnuts for Laundry

To do a load of laundry, it takes a mere 5-6 nuts (if you have water that is relatively soft). The soapnuts are placed in a small muslin bag that is tied shut and dropped into the washing machine. The little bag was even included when I bought the soapnuts. The bags can be reused, so one bag is enough for 4-5 washes.

Not only were we going natural, we were saving money! What's not to love?

They're a bit Vinegary

OK, there is one thing that takes a bit of getting used to: the smell. Some folks don't like the vinegar-like smell, but there is a workaround for that.

Adding a few drops of lavender essential oil to the bag just before putting it into the washing machine transforms the scent of the emerging laundry to a more neutral soapy-clean scent.

Because we had extremely hard water where I lived at that time, I discovered I needed about 9-10 soapnuts per full load. I also added the lavender essential oil in the beginning, but it didn't take long to discover that the vinegar smell disappears completely as the laundry dries. (I have always air-dried my laundry - either in a drying room or in the fresh air), so I stopped using the lavender essential oil after a while.

Where Soapnuts Shine for Laundry

After my detergent-free year of using soapnuts, I learned that they work exceptionally well for washing

  • colored silks

  • colored cotton

  • colored linen

  • colored wool

  • colored delicates

I know you're seeing a pattern here, and you are indeed spot-on. Soapnuts are great for natural fabrics that have color.

As I am not a fan of synthetic fabrics, I am unable to give you terribly much input on how soapnuts are with polyesters and the likes, but can share that my own gym clothes came out clean.

Where Soapnuts Don't Shine for Laundry

As much as I hate to admit it, there are things soapnuts really suck at. Washing whites and lighter colors eventually results in 'grays' (or, to be more precise, 'browns').

Well, judge for yourself by checking the picture above. The bag on the far left has been through 2 washes, and the bag on the right has been through about 50 washes. The darkening is a very gradual process.

It wasn't until I switched to a new bag I noticed how much the color had dulled.

There's More...

Soapnuts have an annoying habit of staining what they come into direct contact with (like the little muslin bags). The higher the washing temp, the more they stain.

This is a good reason to learn how to tie the bag shut in such a manner that the soapnuts have no chance of escape during a wash cycle.

Because if they do – the sheet pictured above on the right illustrates what happens to your lovely white sheets (the brown splotches part – not the green rings part. I added those on purpose so you could see the brown splotches part more clearly).

The bad news: the stains won't even consider coming out without persistence and bleach.

Which is why I went back to my old laundry detergent for whites, but still prefer using soapnuts for colored fabrics washed at lower temps.

That said, if you are willing to wash your whites at low temperatures, the soapnuts will not discolour the fabric as quickly, but it still dulls whites over time.

Do Tell

Have you ever used soapnuts for laundry? What were your experiences with it?

Are you a thinking of becoming a member? Check the Club page to learn what kind of exclusive content you’ll have access to.

Hair Boosting Pre Shampoo Treatment

Lise

This quick and easy hair treatment crept its way into my regular routine all by itself years ago because of 2 things:

  1. the phenomenal way it makes my hair feel and behave

  2. how ridiculously easy it is to do

There are nothing but bonuses to be had from applying virgin coconut oil to hair. It doesn't matter whether your hair is dry, greasy, or normal, kinky, curly, or straight as a board – coconut oil loves all kinds hair.

It literally helps prevent protein loss and has even been side by side tested with a couple of other oils.

Here was the conclusion:

"Among three oils, coconut oil was the only oil found to reduce the protein loss remarkably for both undamaged and damaged hair when used as a pre-wash and post-wash grooming product. Both sunflower and mineral oils do not help at all in reducing the protein loss from hair." REF

If you want to read a few more details about why coconut oil is so fab, please visit this post about the benefits of coconut oil.

Meantime, let's jump straight to this easy peasy hair treatment.

You will need

  • Hair

  • Coconut oil (virgin or refined)

Method

The amount of oil to apply will depend on your hair type – thick long curly hair is obviously going to need more than short fine hair. My hair is short and fine and about a teaspoon is enough for my hair.

  1. Apply oil to dry hair and work through to tips, being sure to reach all of the hair. If you have very long hair, a wide-toothed comb can help distribute the oil.

  2. Massage scalp lightly.

  3. Let sit for as long as you like.

  4. Apply shampoo (no need to wet hair first).

  5. Lather and rinse.

  6. Dry, set and style as usual.

I do this little oil treatment once a week, applying about 15 minutes before I hit the shower, but if your hair is very dry, you may want to do it more often.

The longer the oil is in the hair, the more benefits.

Enjoy!

Do Tell

If you decide to try this (or already do it), please feel free to share your thoughts, reactions and experiences with it in a comment below.

Easy Whipped Shea Butter

Lise

Over the years, I have used shea countless ways - in emulsions, melt-and-pour products, bars, bath products, hair products, and a plethora of skin care products.

Along the way, there have been lots of opportunities to experience fails, and there have been many, but I have also learned from every single one of them.

A lot of formulators have a love/hate relationship with shea butter. While that’s perfectly understandable, I find it has far too much to offer in the way of skin and hair care to be dismissed simply because it can be fiddly to work with.

Today, I'm going to show you a beautifully simple whipped shea that works for me every time so even if you are new to working with shea, this might be a great way to get acquainted with this wonderful skin-and-hair-loving ingredient.

You can use either refined or unrefined shea butter, but be sure the butter is at room temperature and has a creamy, grain-free texture before you start.

LisaLise's Easy Whipped Shea

Ingredient %
Shea Butter 80.0
Jojoba (oil) 18.0
Antioxidant of choice 1.0
Essential Oil Blend (optional) 1.0

If you don't want to add essential oils, adjust the amount of jojoba accordingly.

Method

  1. Sanitise your equipment and work area

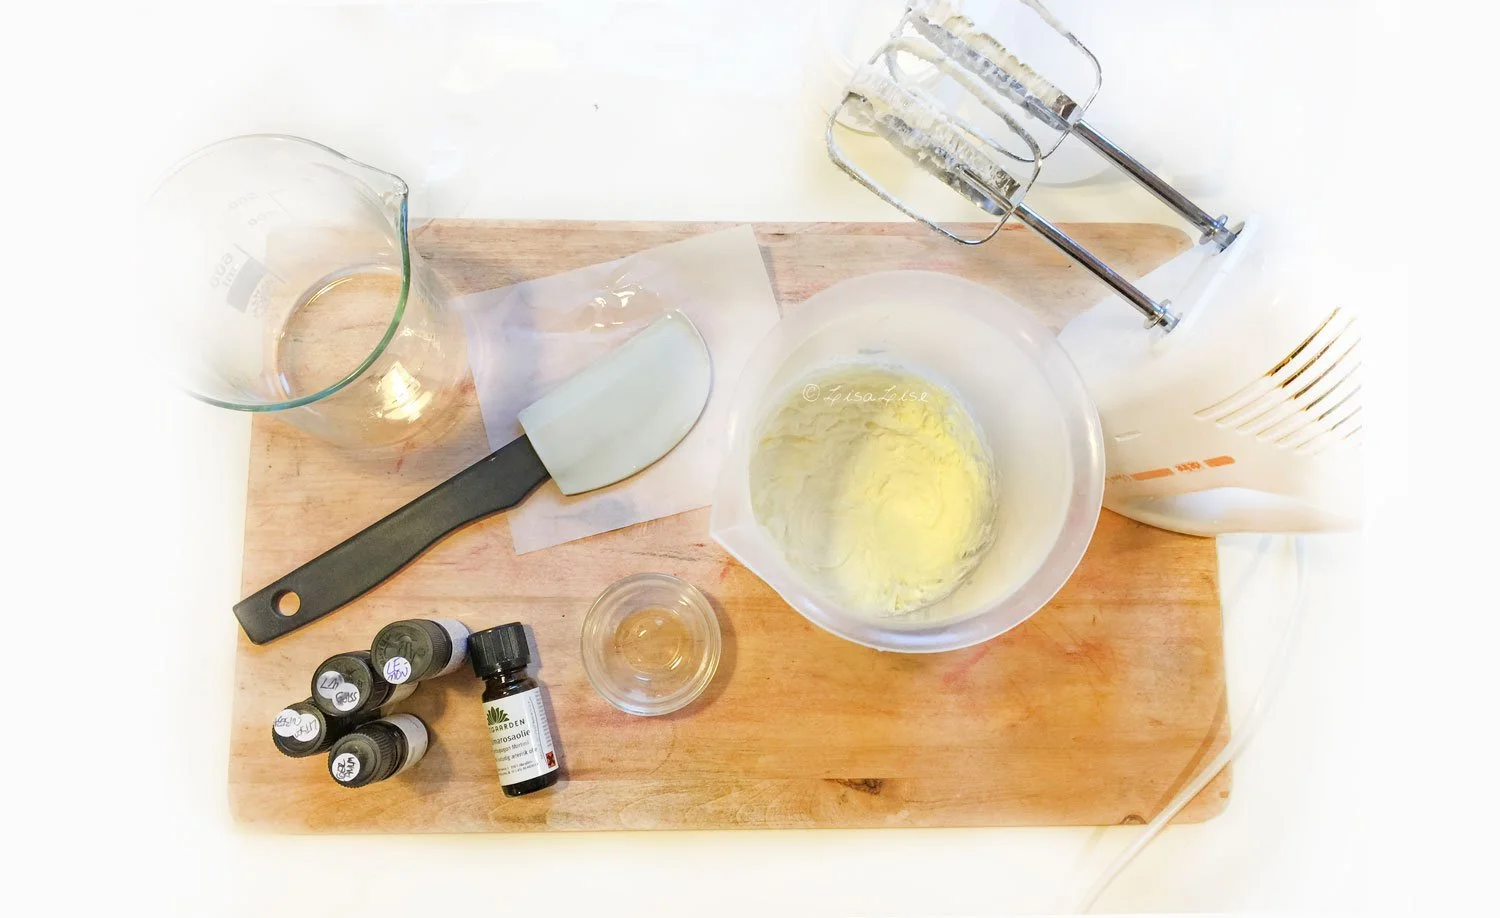
  2. Weigh oil and warm to 40°- 45°C

  3. Weigh shea and cut into small uniform pieces and transfer to 'whipping container' (choose something tallish that has room for your mixer blades)

  4. Transfer oil to shea

  5. Whip the mixture. Start at a low speed, then increase until the mixture is homogenous and light (2-4 minutes - depending on batch size)

  6. Add antioxidant and (any) essential oils

  7. Whip the mixture again until the consistency is light and airy (1-2 minutes).

  8. Transfer the mixture to your final container.

It's ready!

Note the difference in color of the final shea - that wasn’t due to whipping, but to the essential oil blend I added.

Over the next 24 hours the butter will ‘set up’ a bit, but will still be light, yet stable. You should be able to easily dip into the balm without having to 'dig’ it out.

A Few Whipped Shea Uses

This simple product is ideal for numerous things! Try it as

  • Hand & Cuticle Cream (a little goes a long way)

  • Foot Softener (apply after a footbath and don a pair of cotton socks for at home foot spa luxury)

  • Dry Hair Tips Conditioner (rub between hands and apply to tips of hair)

  • Body Cream (apply after bath for super soft skin)

  • Deep Moisturising Night ‘Cream’ (apply after your evening cleanse and massage in gently)

Do Tell

Have you ever made a simple whipped shea? What did you use it for? Please share in a comment below.

Dandelions For Skincare: Drying the Blossoms

Lise

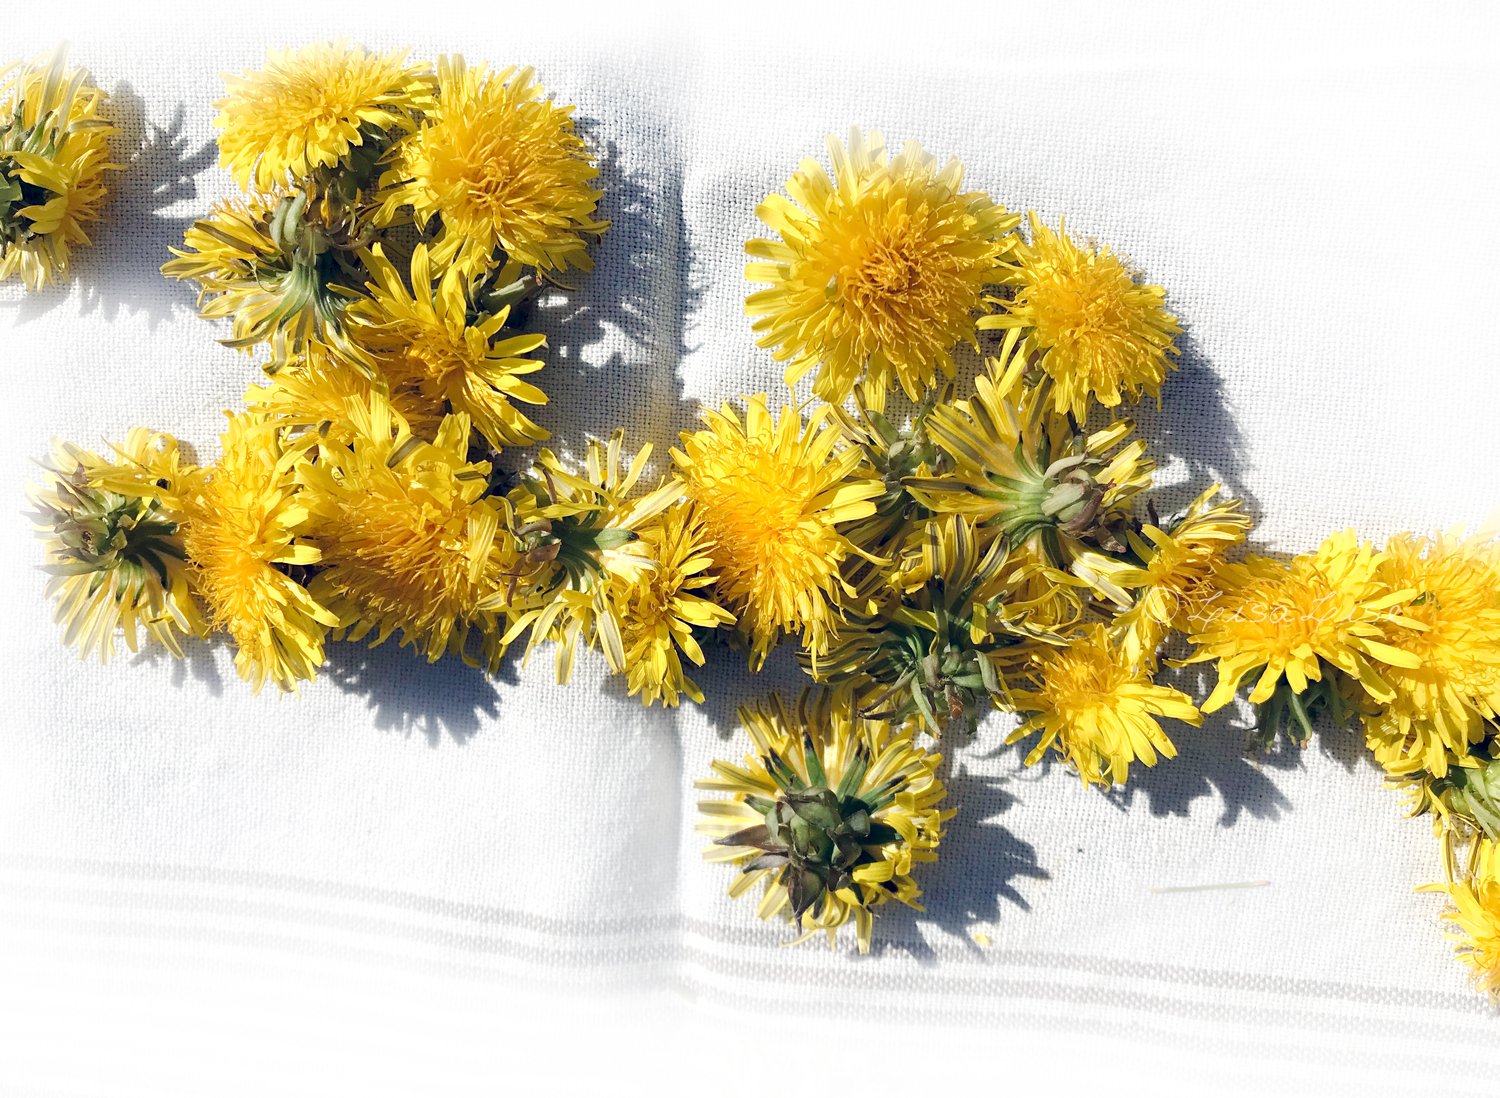
In case you're wondering, this is not a picture of weeds (I've added some helpful text to give you a clue).

Long ago, I would to think only one thing when seeing a meadow full of dandelions: 'pretty, but just weeds'.

No more.

Today, we're going to do a bit of preparation for some honest-to-goodness botanical magic, so grab a basket and get ready to harvest a few dandelion blossoms!

Not convinced why you should be picking 'weeds'?

Then read on to discover what this little treasure of a plant has to offer!

What Makes Dandelions Special

Dandelion (INCI: Taraxacum Officinalis) may be the bain of many gardeners and homeowners, but this widely available plant has so very much to offer.

The 'Officinalis' part of the Latin name is a giveaway that dandelions have a history of medicinal use. Apart from a plethora of different applications for soothing and helping us heal, dandelions are edible (and nourishing) from tip to root.

And there's even more.

My interest in this common plant is due to their natural content of cichoric acid.

And why is this exciting?

Because cichoric acid does a really cool thing: it inhibits the enzyme that breaks down hyaluronic acid in the body. Read: it protects collagen from damage from free radicals.

So, if cichoric acid has the ability to protect our own hyaluronic acid from breaking down, then it might be fair to view dandelions as all-natural little fountains of skincare youth.

See why I'm a little excited?

You: Sounds very interesting Lise, but is all this tested and proven by science?

I love it when you ask me serious stuff!

So far, I am seeing initial conclusions like 'warrants further study' and 'looking positive', but scientific tests are still too few and far between for any conclusive evidence. The prospects have me interested enough to keep digging for more information.

Meantime, there's no reason to put off working with what's growing so abundantly, is there?

So, are you ready to get busy with dandelions?

Dandelion Picking Tips

Although you can use the entire plant, we're going to be concentrating on collecting and drying the blossoms for this exercise.

Where to Pluck Dandelions

Find an area away from roads and other possible sources of contamination (such as pesticides, urinating pets etc). If your own garden lawn happens to fit this description and is filled with dandelions, it's a perfect place to start.

When to Pluck Dandelions

In theory, you can pluck dandelions any time of day, but I find mornings both pleasant and the best time to get the freshest blossoms. Any newly blossomed plants are easy to spot in a lawn (I picked blossoms from my lawn over a period of 3 days). Every blossom I picked for this batch had appeared overnight.

How to Pluck Dandelions

Pinch off blossoms at the top of the stem.

How to Dry Dandelions

Spread out on a clean cloth and allow to wilt in the shade in open air for a few hours. This will give any resident tiny bugs a chance to find another place to reside.

If you have a drying net, use that. A drying net allows air all around the plant.

I started out using my garden table to wilt the flowers, then moved them to a paper towel indoors and placed them face down to finish drying.

Allow the blossoms to dry throughly. Depending on the climate you are in, this could be from a few days up to a couple of weeks.

If you don't have the space to let the blossoms air dry, spread them out on a tray and leave in the oven on very LOW HEAT (about 60°C) overnight.

If you have a dehydrator, even better. Set the dehydrator to between 8-10 hours at about 60°C

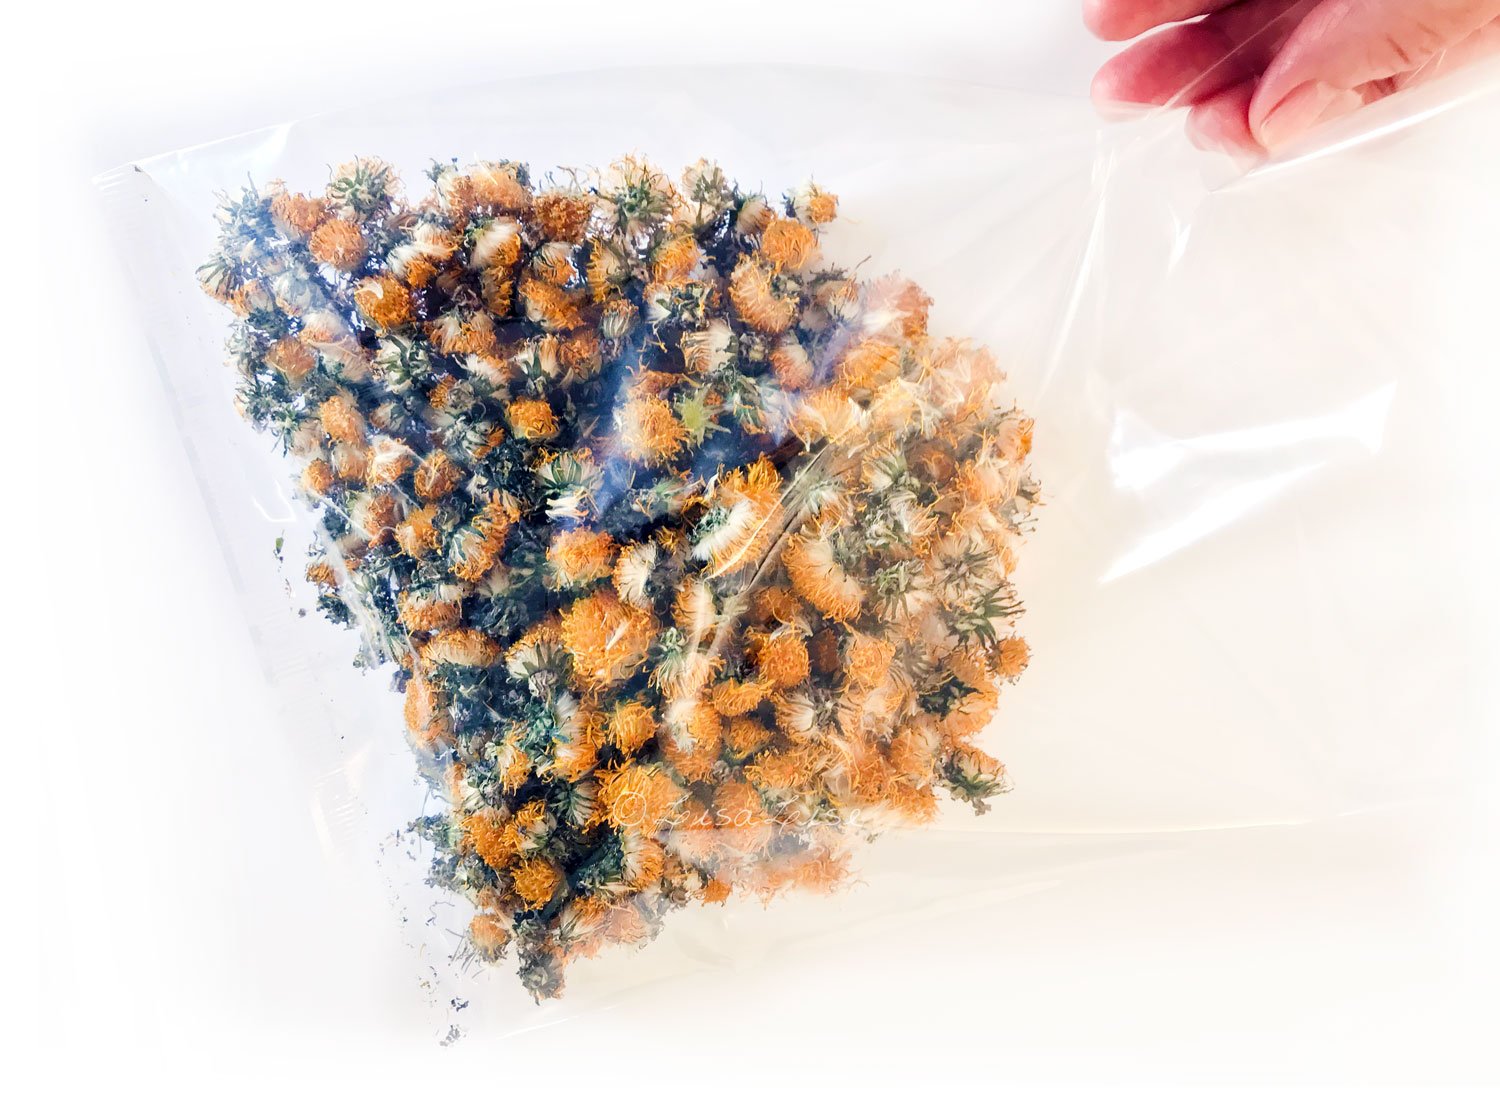
When the blossoms are thoroughly dry, pop them into a bag and store dry and dark until use.

A special thanks to Vivienne at The Herbal Hub for the original inspiration to take a closer look at these gems.

Do Tell

Do you work with dandelions in your skincare? How do you use them?

Links to Nerdy Stuff about Dandelions and Cichoric Acid

https://pubs.acs.org/doi/abs/10.1021/jf0258858

https://www.ncbi.nlm.nih.gov/pubmed/24871659

https://www.sciencedirect.com/science/article/abs/pii/0031942295008659

https://www.ncbi.nlm.nih.gov/pmc/articles/PMC3982519/

https://pubs.acs.org/doi/abs/10.1021/acs.jafc.5b04533

http://pubs.rsc.org/en/content/articlelanding/2017/ra/c6ra25901d#!divAbstract

TIP: Want to get started making your own extracts but don’t know where to begin? The bundle offer below might be just the thing.

Alpha-keratin Protein Mask

Lise

Keratin is a pretty amazing ingredient. It can offer moisturising properties as well as having the ability to enhance the skins elasticity.

As you probably already know, many living beings produce keratin naturally. I was surprised to learn quite recently that we humans produce 54 different kinds of keratin. ( REF )

There are 2 forms of keratin

  1. Alpha-keratin (sources: hair, horns, and nails of mammals)

  2. Beta-keratin (sources: feathers, claws, and beaks of birds & reptiles)

Today, we're going to create our own super easy 3 ingredient alpha-keratin protein mask using ingredients we have right at hand (pun entirely intended).

Prepare Alpha Keratin Powder

To make the star ingredient, you're going to need about 15 grams of nail clippings. You may want to collect clippings from a period of time or if you are impatient, ask your family members and friends to donate theirs.

Grind the clippings to a powder. I use a dedicated nail grinder with a powerful blade but if you don't have one, use the most powerful grinder you have, then sift to achieve a powder.

You're looking for a texture something like what you see pictured below.

When you have your powder ready, then you only need 2 more things to get busy with this mask.

Mask Ingredients

  • Yoghurt

  • Kaolin clay

  • Fingernail keratin powder

Method

  1. Mix ingredients to your preferred texture

  2. Apply to face, hair, and anywhere else you are comfortable applying this mixture.

  3. Let sit until you feel the need to remove it.

  4. Rinse off.

  5. Pat yourself on the back for so thoroughly engaging in my very silly April fools post.

Happy first of April.

Do Tell

When did you realise I wasn’t being serious? Please share in a comment below.

More About Nail Structure and Keratin

nail structure

ground keratin fibres - cosmetic grade

Producers of keratin waste